If you've ever admired the kind of polished, long-lasting curls that look like they belong on a red carpet, chances are a Marcel iron was involved. This isn't just another curling tool; it's a precision instrument, a true artist's brush for hair. Mastering its distinctive manual operation unlocks a level of control and versatility that modern clamp-style irons simply can't match. Ready to elevate your styling game and finally achieve those coveted, classic curls? We’re diving deep into the Professional Marcel Iron Tips you need to know.
At a Glance: Your Quick Guide to Marcel Mastery
- Practice is Paramount: The manual clamp requires finesse; embrace the learning curve.
- Prep Your Hair: Always start with clean, dry hair and a quality heat protectant.
- Adjust Your Pressure: The secret to varying curl tightness lies in your clamp control.
- Section Smartly: Divide and conquer for even, consistent results.
- Cool Down Completely: Let curls set before touching them for maximum longevity.
- Maintain Your Tool: Regular cleaning ensures optimal performance and a longer lifespan.
Beyond the Clamp: Why Master the Marcel?
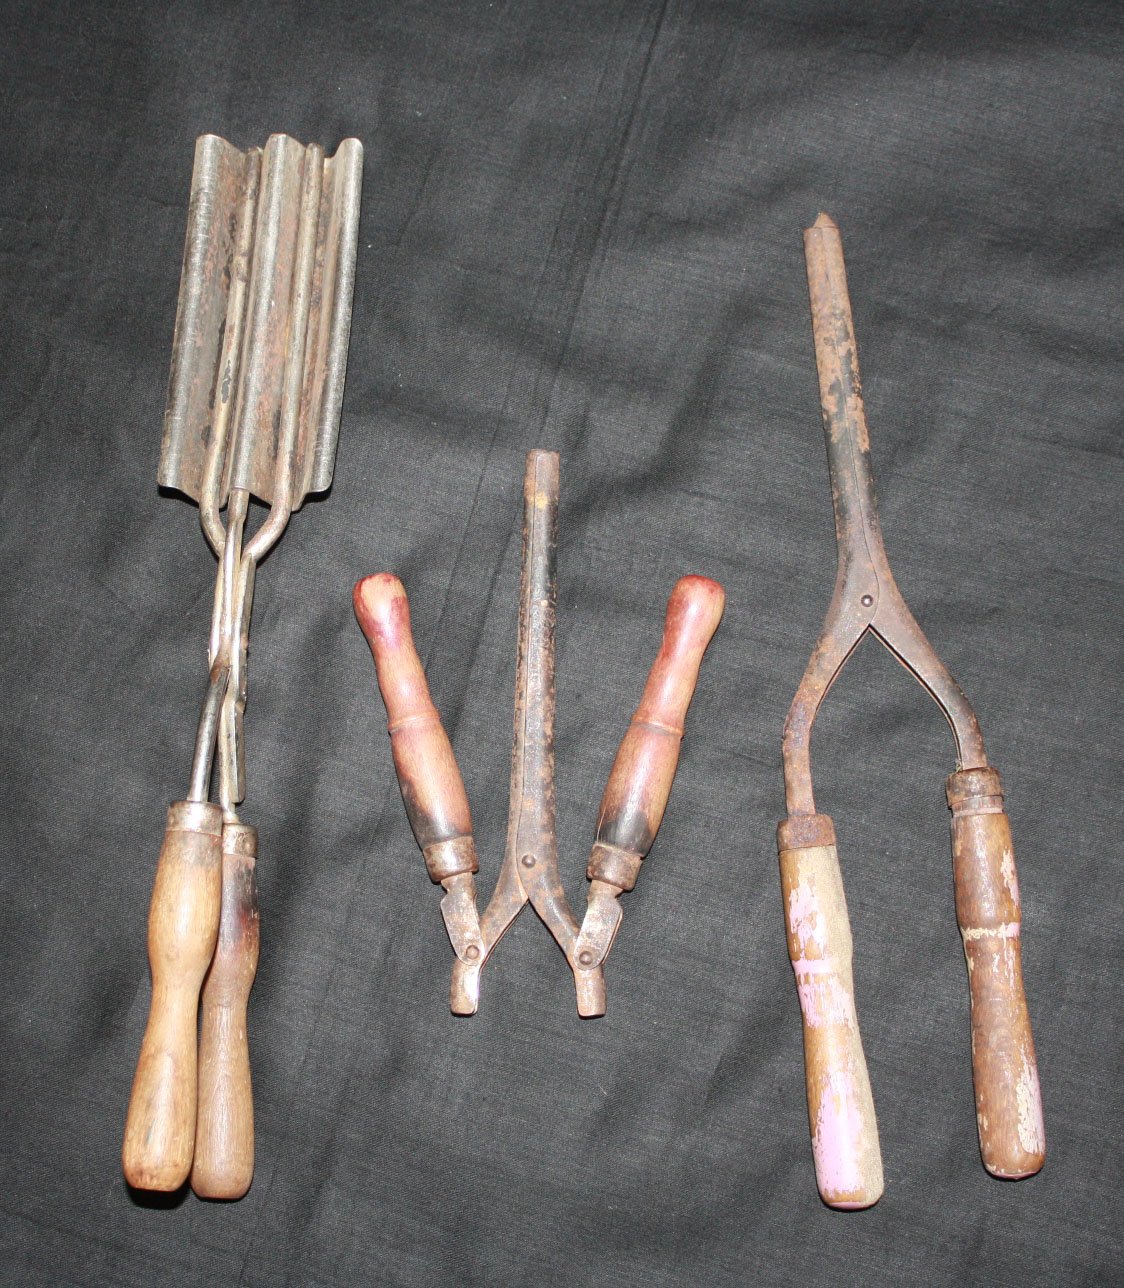
In a world full of automated styling tools, the Marcel iron stands as a testament to timeless technique and professional quality. Invented by Marcel Grateau, this tool predates its modern counterparts, offering a unique approach to hair artistry. While it demands a bit more dexterity, the payoff is immense. You're not just curling hair; you're crafting it.
Precision & Control: Your Hair, Your Rules
Unlike the spring-loaded clamps of traditional curling irons, the Marcel iron features a manually adjustable clamp. This isn't a flaw; it's its superpower. You dictate the exact pressure, from a gentle caress that creates soft waves to a firm grip for tight, defined ringlets. This unparalleled control means every curl is intentional, every wave perfectly placed. It’s the difference between sketching with a crayon and painting with a fine-tipped brush.
Timeless Effectiveness: Curls That Last
There’s a reason Marcel irons have remained a staple in professional kits for generations: they deliver. When used correctly, the consistent, even heat distribution and precise technique yield curls that not only look fantastic but also hold their shape. This isn't about fleeting beauty; it's about creating styles with enduring elegance and resilience.
Unmatched Versatility: From Ringlets to Waves
The adjustable clamp pressure, combined with the ability to choose different barrel sizes, transforms the Marcel iron into a multi-talented tool. Want classic ringlets? Tighten the clamp and wrap. Craving loose, bohemian waves? Less pressure and a slightly looser wrap. Need to add voluminous lift at the root? The Marcel iron handles it all with grace, allowing you to create a vast spectrum of styles.
Professional-Grade Durability: An Investment That Pays Off
Marcel irons are built to last. Often constructed with robust materials and advanced heating elements, they're designed for frequent, rigorous use in a professional setting. This means even heat distribution, minimal hot spots, and a tool that will be a reliable workhorse in your styling arsenal for years to come. It's not just a purchase; it's an investment in your craft.
Getting Started: Your Pre-Curl Prep Routine
Before you even think about wrapping that first strand, proper preparation is non-negotiable. Skipping these crucial steps is like trying to paint a masterpiece on a dirty, unprepared canvas.
The Clean Slate: Why Hair Prep Matters
Always begin with clean, completely dry hair. Any oils, dirt, or product residue can interfere with the iron’s ability to create and hold a curl. Dryness is key because moisture in the hair can literally boil when exposed to high heat, causing damage. A fresh, clean base allows for even heat penetration and optimal curl formation.
Shield Your Strands: Heat Protectant Is Non-Negotiable
This isn't an optional step; it's essential. High heat styling, even with the best tools, can take a toll on your hair. A quality heat protectant creates a barrier between your hair shaft and the iron, minimizing damage, reducing frizz, and often enhancing shine. Apply it evenly from roots to ends before any heat touches your hair. When choosing the right heat protectant, consider your hair type and the level of heat you’ll be using.
Sectioning for Success: The Blueprint for Even Curls
Attempting to curl your entire head of hair at once is a recipe for uneven, frustrating results. Sectioning your hair properly is the foundational step for achieving a consistent, polished look.
- Divide and Conquer: Use clips to separate your hair into manageable sections. A common approach is to divide horizontally, starting from the nape of your neck and working your way up to the crown.
- Consistent Size: Aim for sections that are roughly the same size as the barrel of your iron, or slightly smaller. This ensures even heat distribution and uniform curls. For most styles, sections that are 1-2 inches wide work well.
- Keep it Tidy: Neatly pinned sections make the curling process smoother and prevent stray hairs from getting caught or missed.
The Heart of the Matter: Mastering the Marcel Grip and Technique
This is where the magic happens, and where the Marcel iron sets itself apart. The manual operation might feel awkward at first, but with practice, it becomes an extension of your hand.
Heat Settings: Fine-Tuning for Your Hair Type
Finding the right temperature is critical for effective, damage-free styling.
- Fine or Damaged Hair: Start with a lower heat setting (around 250-300°F or 120-150°C). Your hair is more delicate and prone to damage.
- Normal Hair: A medium setting (around 300-350°F or 150-175°C) is typically sufficient.
- Thick or Coarse Hair: You might need a higher setting (350-400°F or 175-200°C) to properly set the curl.
- Test First: Always test a small, inconspicuous section of hair (like underneath at the nape) to ensure the heat setting is effective without causing sizzling or damage.
Decoding the Clamp: Pressure for Perfection
The adjustable clamp is the Marcel iron's signature feature. Unlike spring-loaded clamps that apply a fixed pressure, you control the tension here.
- The Grip: Hold the iron in your dominant hand, with your thumb typically on the top handle and your fingers on the bottom. The "Marcel handle" (the rotating finger rest) allows you to rotate the barrel without twisting your wrist, which is crucial for smooth curling.
- Opening/Closing: Gently squeeze the handles to open the clamp. Release to close. It's a subtle motion that will become second nature.
- Pressure Control: More pressure on the clamp equals a tighter, more defined curl. Less pressure creates looser waves. Practice this balance to achieve your desired effect.
The Wrap, Hold, and Release: A Step-by-Step Guide
This is the core technique. Take it slow at first, focusing on precision over speed.
- Isolate Your Section: Take a prepared section of hair.
- Position the Iron: Open the clamp slightly and slide the barrel underneath the section of hair, close to the root (or where you want the curl to begin). The clamp should be on top of the hair strand, facing away from your head.
- Secure the End: Gently close the clamp just enough to secure the very ends of the hair section between the barrel and the clamp. Don't press too hard, you're not trying to crimp it.
- Rotate and Wrap: Using your wrist and the Marcel handle, smoothly rotate the iron towards your head, wrapping the entire section of hair tightly around the barrel. The hair should lay flat against the barrel, not crisscross or pile up.
- Hold: Hold the iron in place for a few seconds. The exact timing depends on your hair type and the desired curl intensity. (Generally 5-10 seconds for most hair types). You might feel a slight warmth radiating from the hair, but never a burning sensation.
- Release: With the hair still wrapped around the barrel, gently open the clamp just enough to release the ends. Then, slowly and smoothly pull the iron straight down and away from the curl, allowing the perfectly formed curl to slide off the barrel.
- Pin (Optional but Recommended): For maximum longevity, especially on hair that struggles to hold a curl, gently coil the still-warm curl back into its original shape and secure it to your scalp with a duckbill clip or bobby pin until it completely cools.
Direction Matters: Creating Natural Flow
Varying the direction of your curls adds movement and a natural, lived-in feel.
- Curling Away from the Face: For the sections around your face, always curl away from your face. This opens up your features and creates a softer, more flattering frame.
- Alternating Directions: For the rest of your head, alternate the direction of your curls (one section away, the next towards your face). This prevents your hair from looking like a solid, uniform helmet of curls and adds beautiful texture and dimension.
- Consistent Direction: For a more vintage, uniform look (like finger waves or pin-up curls), you might opt to curl all sections in the same direction.
Common Pitfalls & How to Avoid Them
Even seasoned pros encounter challenges. Here’s how to sidestep common Marcel iron mishaps:
- The "Kink" at the End: This happens when you clamp the hair too tightly at the very end, or pull the iron out too sharply. Be gentle when securing the ends, and release the iron slowly.
- Uneven Curls: Usually due to inconsistent sectioning or not wrapping the hair flat against the barrel. Ensure uniform sections and meticulous wrapping.
- Frizz: Insufficient heat protectant, using too high a heat setting, or trying to curl hair that isn't completely dry. Always prep properly and use the right temperature.
- Curls Falling Flat: Not letting the curls cool completely before touching them, or an insufficient hold time. Pinning the curls while they cool makes a huge difference.
Elevate Your Style: Beyond Basic Curls
Once you’ve nailed the foundational technique, the Marcel iron truly shines as a tool for creative expression.
Playing with Barrel Sizes: Your Curl Signature
The barrel size is your primary determinant of curl type.
- Small Barrels (3/4 inch - 1 inch): Ideal for tight ringlets, vintage pin curls, or adding texture to shorter hair.
- Medium Barrels (1 inch - 1.25 inches): The most versatile choice, perfect for classic curls, defined waves, and adding body.
- Large Barrels (1.25 inches - 1.5 inches): Creates looser, bouncier waves, soft bends, and voluminous finishes.
Experimenting with different barrel sizes will allow you to customize your curl signature.
Adding Volume & Body: Techniques for Lift
The Marcel iron isn't just for curls; it's fantastic for creating voluminous roots.
- Root Lift: Take a section of hair at the crown. Instead of wrapping it around the barrel, place the iron underneath the section close to the root. Gently close the clamp and lift the iron upwards, holding for a few seconds. Release, and you’ll have instant lift.
- Back Combing & Curling: For maximum volume, lightly backcomb the roots of a section before curling the mid-lengths and ends. This creates a cushion for the curl to rest on.
Crafting Waves: From Beachy to Glamorous
The Marcel iron's control makes it superb for various wave patterns.
- Soft Waves: Use a larger barrel, less clamp pressure, and a looser wrap. Hold for a shorter duration. Once cooled, brush through thoroughly.
- S-Waves (Finger Waves): This is where the manual clamp excels. Instead of fully wrapping, you can press the iron onto sections of hair, creating an "S" shape by alternating the direction of the press. This is an advanced technique that requires precision and practice, but yields stunning results.
- "Bend" Styling: For a more natural, undone look, simply create a bend in the hair rather than a full curl. Clamp mid-shaft, turn the iron 90 degrees, hold, then release, leaving the ends straight.
The Power of Practice: Your Best Investment
There’s no shortcut to mastering the Marcel iron. The manual dexterity required takes time and repetition. Don’t get discouraged if your first few attempts aren’t perfect. The more you practice the technique, the more intuitive it becomes. Think of it like learning to drive a stick shift – clunky at first, then smooth sailing. For those looking to dive deeper, exploring advanced techniques can open up a whole new world of styling possibilities once the basics are solid.
Finishing Touches: Setting Your Masterpiece
You’ve put in the work, now ensure your beautiful curls last. The finishing steps are just as important as the curling itself.
The Cool-Down Rule: Don't Rush Perfection
This is arguably the most critical step for curl longevity. Hair sets its shape as it cools. If you touch, brush, or manipulate curls while they're still warm, they will fall flat.
- Patience is Key: After releasing each curl, let it cool completely. If you pinned your curls, wait until your entire head has cooled down before removing the pins.
- Why it Works: Heat breaks down the hydrogen bonds in your hair, allowing it to be reshaped. As the hair cools, these bonds reform, locking in the new curl pattern.
Brushing vs. Finger-Combing: The Texture Choice
How you break up your curls determines the final look.
- For Defined Curls: Gently finger-comb or use a wide-tooth comb to separate the curls. This maintains definition while adding softness.
- For Softer Waves: Use a soft-bristle brush (like a Mason Pearson) to brush through all the curls once they are completely cool. This blends them into glamorous waves with a smooth, polished finish.
- Hands Off: Avoid over-brushing or over-combing, which can lead to frizz.
Lock It In: The Art of Hairspray
A light mist of hairspray is the final seal of approval for your style.
- Choose Wisely: Opt for a flexible hold hairspray for natural movement, or a stronger hold for styles that need to last all day (or night). Avoid heavy, sticky formulas.
- Even Application: Hold the can about 10-12 inches away from your head and mist evenly. Don’t concentrate too much product in one spot.
- Flip & Spray: For extra volume and hold, flip your head upside down, mist lightly, then flip back up and gently arrange your curls.
Maintaining Your Tool: A Pro's Guide to Longevity
Your Marcel iron is an investment. Treating it with care ensures it continues to perform at its best for years to come.
Cleaning Your Barrel: Keep It Pristine
Product buildup (hairspray, heat protectant, styling creams) can accumulate on the barrel, leading to uneven heat distribution and even damage to your hair.
- Regular Wiping: After each use, once the iron is completely cool, gently wipe the barrel with a soft, damp cloth to remove any surface residue.
- Deep Clean: For stubborn buildup, use a non-abrasive cleaner specifically designed for hot tools. Apply a small amount to a cloth (never directly to the iron) and wipe gently. Follow with a clean, damp cloth to remove any cleaner residue, then dry thoroughly. This is a crucial step in proper Marcel iron maintenance.
- Unplug First: Always ensure the iron is unplugged and completely cool before cleaning.
Storage Tips: Protecting Your Investment
Proper storage protects your iron from damage and keeps it ready for action.
- Cool & Dry: Store your iron in a cool, dry place. Avoid humid environments.
- Protect the Cord: Never wrap the cord tightly around the iron, which can fray the wires over time. Instead, coil it loosely.
- Heat-Resistant Mat/Pouch: If your iron didn’t come with one, invest in a heat-resistant mat or pouch for safe cooling and storage, especially if you’re traveling or need to put it away while still slightly warm.
Frequently Asked Questions (FAQs)
What's the difference between a Marcel iron and a traditional curling iron?
The primary difference is the clamp mechanism. A Marcel iron has a manually operated clamp, giving you precise control over pressure and tension, whereas a traditional curling iron has a spring-loaded clamp with fixed pressure. This manual control makes the Marcel iron more versatile and precise for professional styling.
How long do Marcel curls last?
When properly executed with the right heat protectant, cool-down period, and finishing spray, Marcel curls are known for their exceptional longevity. They can often last for days, especially on hair that typically holds a curl well.
Is a Marcel iron harder to use?
Initially, yes. The manual clamp requires more dexterity and practice than a spring-loaded curling iron. However, with consistent practice, users gain unparalleled control and precision, making the initial learning curve well worth the effort for professional-level results.
What heat setting should I use for my Marcel iron?
The ideal heat setting depends on your hair type. Fine or damaged hair typically needs 250-300°F (120-150°C), normal hair 300-350°F (150-175°C), and thick or coarse hair 350-400°F (175-200°C). Always start low and test on an inconspicuous section.
Can I use a Marcel iron on short hair?
Absolutely! Marcel irons are excellent for short hair, especially with a smaller barrel size (like 3/4 or 1 inch). They offer the precision needed to curl shorter strands, create volume, or craft vintage waves effectively.
Your Journey to Curl Mastery: Next Steps
Learning to wield a Marcel iron is a journey, not a destination. It’s a skill that refines with every curl, every rotation, every perfectly placed wave. Embrace the process, be patient with yourself, and enjoy the unparalleled control this classic tool offers.
The secret to true mastery lies in understanding your tool, knowing your hair, and dedicating time to practice. Don't be afraid to experiment with different techniques, barrel sizes, and curl directions. Your hands will adapt, your muscle memory will build, and soon, those "professional" curls will be second nature. If you're ready to delve deeper into the world of this iconic styling tool, be sure to explore more tips and guides to Master the Marcel Iron and unlock its full potential. Your hair artistry awaits!